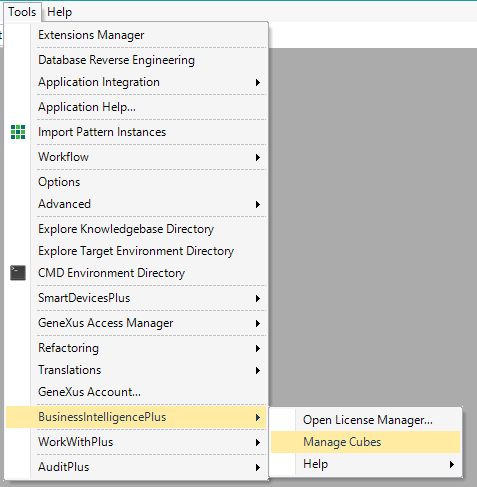
WorkWithPlus for BI gives the possibility to create cubes with the transactions from your KB. To begin the process you have the option in WorkWithPlus->> for BI->> Manage Cubes.
Below is explained how to create a cube with an example.
Important: during the creation of the cube is necessary to build and run some procedures. So, before creating the cube, run (F5) or Build All your KB in order to ensure that there is no pending reorganization or generation needed. Once you have built or run your application you can follow the steps below.
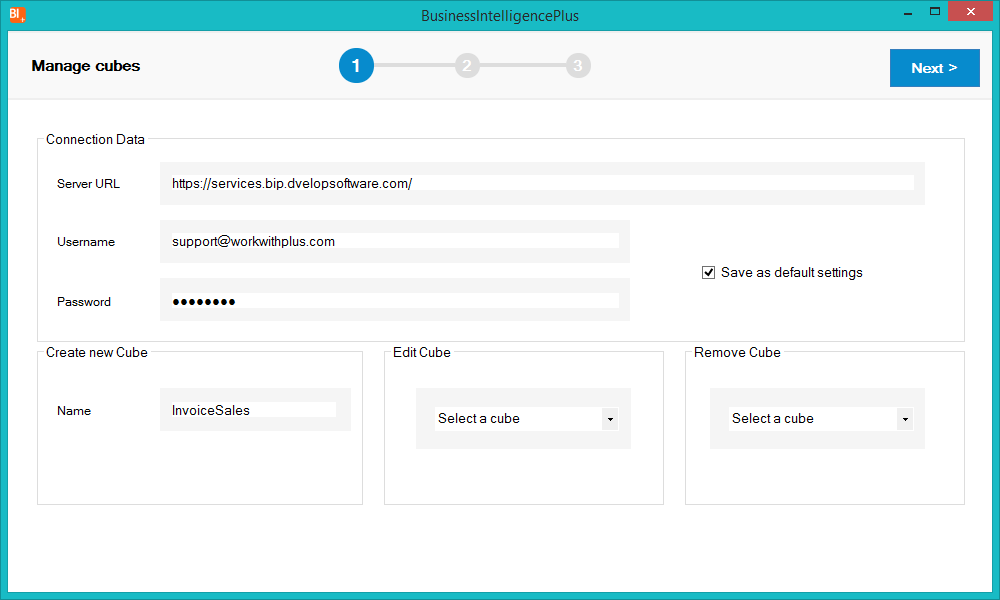
In this step, you need to set the name of the Cube and fill your login data.
Then you need to select the attributes that you want to query in the cube. It's important to mention that you should select attributes belonging that GeneXus can navigate in a For Each.
For example Invoice, Client and Country:
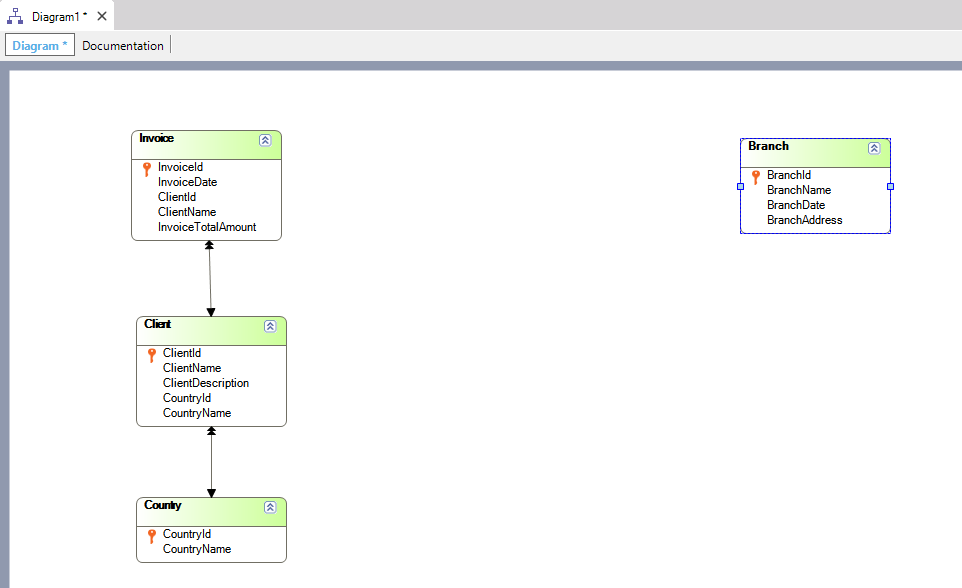
Instead, if you select Branch and Client, an error will be displayed because these transactions can not be navigated in a For Each.

In this step, you can customize the data type that each field will have within the cube. WorkWithPlus for BI infers some types according to the data type of the attributes.
If you want to add some new attribute you have the option 'Add more attributes' and if you want to delete one you can select the attribute and click SUPR.
Also, you can customize the name of the attribute in the cube. It is important to define significant names because these names will be used to do the queries at runtime.
You have the possibility to add Conditions which will be used to filter the data that is uploaded. This condition should be written by using the same syntax as a GeneXus condition.

In this step, you have a summary of the definition of the Cube that will be created.

When you select 'Finish' the cube will be created, so WorkWithPlus for BI is going to:
- Impact the new cube design into WorkWithPlus for BI database
- Import in the Knowledge Base the necessary objects to query the cube.
- Save the cube in the KB´s preferences so you will be able to edit it later
Important: WorkWithPlus for BI uses an independent database so queries won't affect the operational database performance.
In addition, some objects (External Objects, SDTs, Procedures and Web Panels) will be imported:
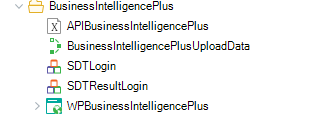
The Web Panel is the panel where you will be able to query your Cube.
And some procedures will be created:
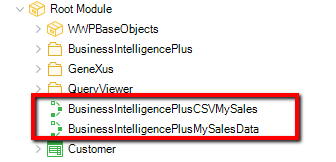
These procedures are needed to load the cube with your data and to get your cube settings (username, cube name, etc.)
Run the BusinessIntelligencePlus<CUBE_NAME>UploadData procedure so the initial load is done. Then, to periodically load your data, you should follow the steps explained on Updating data
|