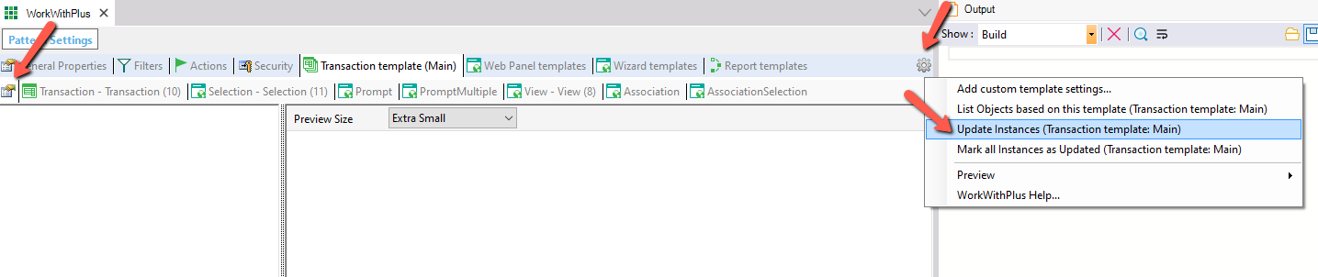
As learned in previous parts, when working within the templates, we have a mechanism in order to automatically propagate the modifications within your instances. This mechanism is called "Update Instances".
The Update Instances process has two main goals:
- Propagate changes made in a template to every instance already created based on that template.
- Propagate changes made to some transaction's structure. These changes include adding or removing attributes and relationships between transactions, or modifying descriptions of attributes or relationships between transactions.
So, the Update Instances process should be executed when:
- A modification is done within a template and you want to propagate this change to every instance based on that template
- You modify a transaction’s structure, for example, by adding or removing attributes.
Tips:
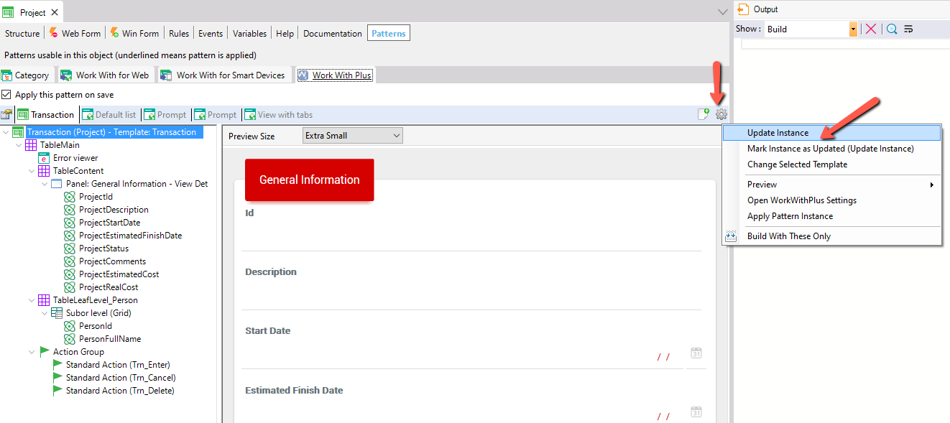
- The Update Instance is a smart process because it will detect when a modification was done by the developer in a specific instance and it will keep that modification. The Update Instance doesn't overwrite the definition made by the developer.
- The Update Instance process can be done in a particular instance, or for every instance in the template definition within the WorkWithPlus Settings
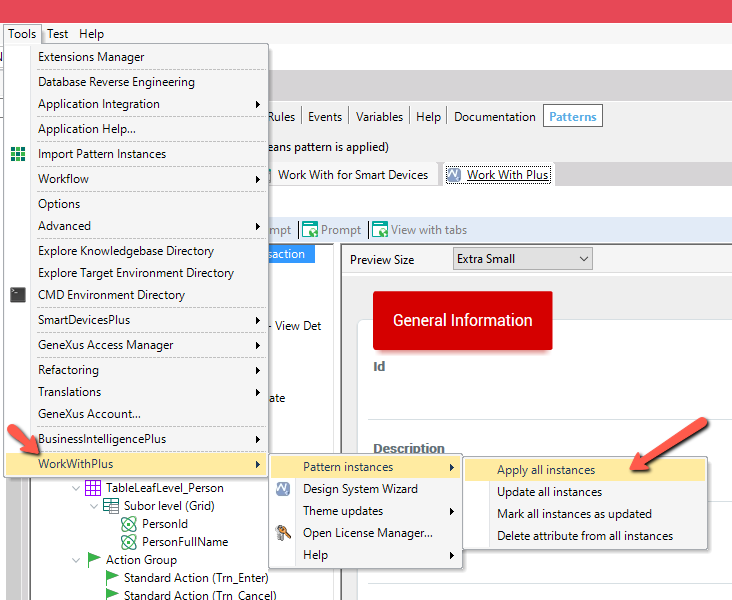
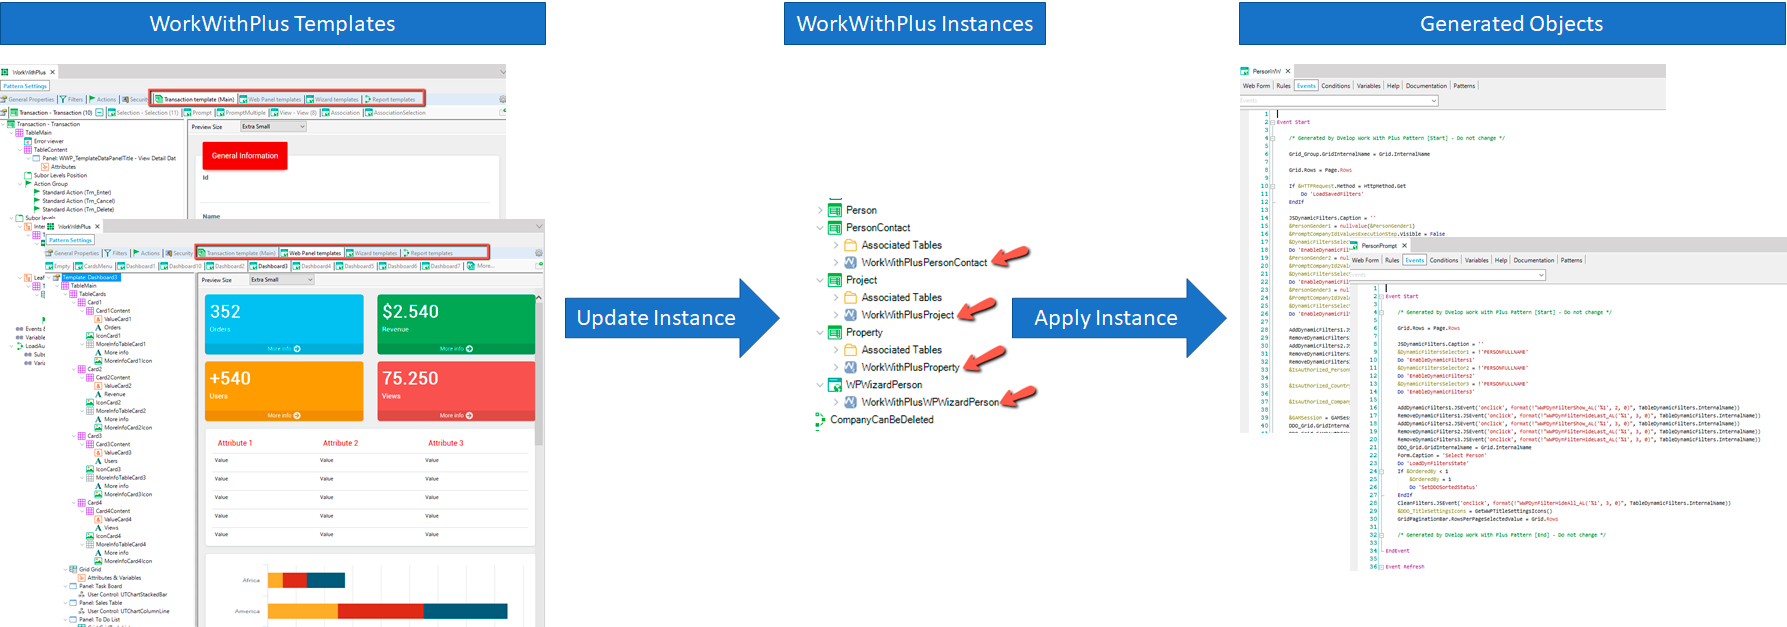
WorkWithPlus provides the possibility to apply all the pattern instances of an application. It will apply the instances of transactions, web panels and procedures, generating the necessary objects.
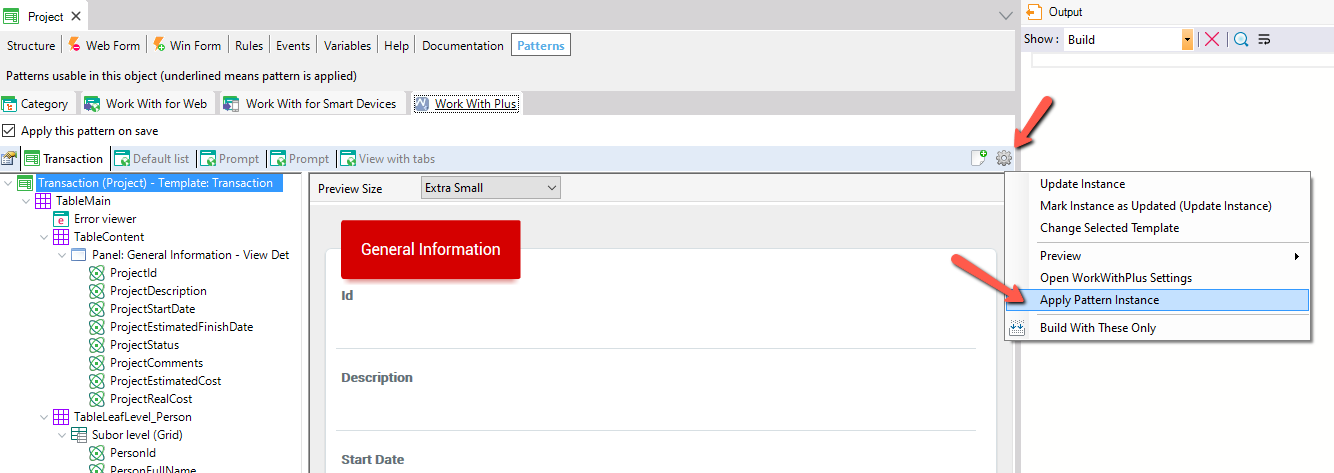
After you do an "Update Instances" to a Transaction, Web Panel or Procedure template the instances are updated (the changes done in the template are included in the instance) but the generated objects remain as they were before. So, in order to generate the objects within the instances (that have changed), you must use this functionality.
Tip: the Apply Pattern process can be done in a particular instance, or for every instance from the Tools menu of GeneXus --> WorkWithPlus --> Pattern Instances --> 'Apply all WorkWithPlus pattern instances'.
The Update Instance and Apply All Instance are complementary process that should be done for different purposes.
You should do the "Update Instance" process only when:
- A modification is done within a template and you want to propagate this change to every instance based on that template.
- You modify a transaction’s structure, for example, by adding or removing attributes.
- You want to modify the Design System of your application by running the Design System Wizard again, as explained here.
You should do the "Apply All Instances" process only when:
- After doing an "Update Instance" in order to generate the objects according to the updated instances
- You install a new WorkWithPlus version in order to apply the new version to every instance.
- You modify the objects ExportReportTemplate_Style1, ExportReportTemplate_Style2 and ExportReportTemplate_Style3, to apply the customizations to all your "ExportReport" objects
You don't have to do the "Update Instance" or the "Apply All Instances" when:
- You modify the WorkWithPlusTheme (or the KB current theme) as the generation of the CSS is totally independent of WorkWithPlus´s mechanisms
- You only migrate your GeneXus version (if you also migrate your WorkWithPlus version, you should do the "Apply All Instances" process)
You can also learn about the Impact metadata process.
|